The S scale denotes a ratio of 1:64. This scale signifies that one unit of measurement on the model corresponds to 64...

Cart 0 Product Products (empty)
No products
Free shipping! Shipping
£ 0.00 Total
Product successfully added to your shopping cart
Quantity
Total
There are 0 items in your cart. There is 1 item in your cart.
Total products (tax incl.)
Total shipping (tax excl.) Free shipping!
Total (tax incl.)
Search Tips
Tips categories
Latest Tips
-
 What is S scale?Read more
 -
 What should I set the pressure to on my airbrush?Read more
Most airbrushes will come with a pressure regulator built-in, but what is this facility for, and which pressure...
-
 How can I add rust and weathering effects to white metal parts?Read more
A number of modellers will work with white metal components as either part of their model or as additional...
-
 What are my options for motorising a level crossing?Read more
There are a few options for motorising a level crossing on a model railway layout: Servo motor: One option is to use...
-
 How do I know if my paint is too old?Read more
If like most modellers, you have an abundance of used model paints lying around, you will be familiar with the pang...

How can I create realistic corrugated roofs for buildings?
A number of model manufacturers produce materials to help modellers scratch-build scene elements to add further details to a model or diorama, such as corrugated panel sheets. For those looking to create corrugated roof panels, these sheets are very helpful and can be cut to appropriate dimensions to simulate corrugated roofing or wall panels. These cut-down panels can then be placed on the model or layout and can be made to overlap each other, faithfully recreating realistic corrugated roofing effects.
For those modellers looking to regularly repeat the process to produce multiple sheets or panels then there are a few economy options available that avoid the need for purchasing multiple panel sheets. Use a panel sheet cut to the appropriate dimensions, this can then be put to one side to serve as a template. Take sheets of thin tin foil, these can then be gently pressed onto the template effectively contouring and shaping to the corrugated pattern. A single tin sheet may be a little too flimsy for our purposes but multiple sheets can be added providing suitable bulk and rigidity. A thin layer of watered-down PVA glue can be applied between each sheet to help adhesion and thus give suitable bulk.
Similarly, we can use two-stage epoxy to effectively mimic corrugated sheets. Take equal amounts of two-stage epoxy and roll them together until a consistent colour tone has been achieved, this indicates that the two constituents are suitably mixed. Roll this mixture flat and then apply it to the template. The epoxy mix can be contoured into place gently with a finger or by pressing another section of the corrugated sheet on top, effectively sandwiching the epoxy mix.
Although we have mentioned using epoxy and tin foil to form corrugated roof strips, the technique is suitably versatile in that it may be similarly used to mimic other surfaces or textures. Why not try this technique to help scratch-build parts and elements for your next project?
Posted in: Kit building
Click here to receive the tips weekly in your mailbox. You can unsubscribe at any time.
Related products
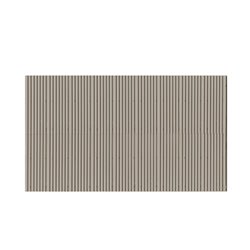
Materials Corrugated Asbestos - 130 x 75 mm (4...
Price: £ 7.20Materials Corrugated AsbestosOO gauge 1/76 scale.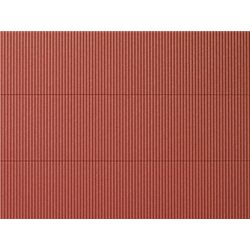
HO Plastic sheet 200x100mm - (2) Corrugated...
Price: £ 9.25Plastic decor sheets corrugated iron reddish-brown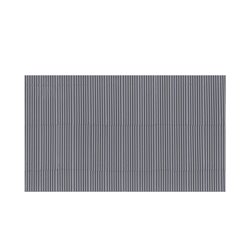
Materials Corrugated Iron - 130 x 75 mm (4 sheets)
Price: £ 7.20Materials Corrugated IronOO gauge 1/76 scale.
Related posts
-
 Do I need to wash my plastic kit?I personally wash all my plastic kits, I use warm soapy water (Washing up liquid) and a light rub over with a nail...
 - What is Milliput?Milliput is a two-part epoxy putty. There are two different colour rolls in a box when these are mixed together it...
- What modelling tools do I need to get started?Most modellers have an extensive tool kit, a tool for every eventuality. But when first starting a scalpel or a...
- How do I remove parts from the sprue?The short answer is carefully. The best way is with a sprue and plastic cutter but always be mindful of exactly...
- Do I need a cutting mat?It is not essential to have a cutting mat, but it is a good idea. It saves getting in trouble with your significant...