Buckeye couplings, also known as Buckeye knuckle couplers, are a type of railway coupling used primarily in North...

Cart 0 Product Products (empty)
No products
Free shipping! Shipping
£ 0.00 Total
Product successfully added to your shopping cart
Quantity
Total
There are 0 items in your cart. There is 1 item in your cart.
Total products (tax incl.)
Total shipping (tax excl.) Free shipping!
Total (tax incl.)
Search Tips
Tips categories
Latest Tips
-
 What are buckeye couplings?Read more
 -
 When weathering, is an airbrush or a regular brush best?Read more
When weathering, many modellers favour an airbrush over a regular paintbrush for the bulk of the work. But as we...
-
 Do I need to use a primer?Read more
For best results it is advisable to use a primer as this will stick to the plastic and give a uniform coat of paint...
-
 What were water cranes used for?Read more
In the era of steam locomotives, water cranes, often referred to as water columns or water towers, played a crucial...
-
 What is the best way to glue a grass mat to a baseboard?Read more
To effectively glue a grass mat to a baseboard, follow these steps:Clean the Baseboard: Ensure the baseboard is...

What are waterslide transfers?
Waterslide transfers are a key component of scale modelling, allowing you to add intricate markings, insignias and text to your models with precision and realism. These decals are named for their application method, which involves soaking them in water to release them from their backing paper before sliding them onto the model's surface. They are widely used in model kits for military vehicles, aircraft, cars, trains and even figurines, helping to replicate real-world details that would be difficult to paint by hand.
The key advantage of waterslide transfers is their ability to create sharp, detailed designs without thick edges or visible adhesive, as seen with traditional stickers. This ensures a painted-on appearance that enhances the model's realism. Unlike vinyl or peel-and-stick decals, waterslide transfers conform more naturally to complex curves and panel lines, especially when used with setting solutions like Micro Set or Micro Sol, which help them adhere smoothly and blend seamlessly with the model's surface.
To apply waterslide transfers effectively, you need a few basic tools: a small dish of water (preferably lukewarm), tweezers, a soft brush and a cotton bud or tissue for removing excess moisture. After cutting out the decal, soak it in water for a few seconds until it starts to lift from the backing paper. Using tweezers or a brush, gently slide the transfer onto the model, positioning it carefully before patting it down to remove any trapped air or water. Some modellers prefer to apply a gloss varnish before placing decals to reduce the risk of "silvering"—an effect where tiny air bubbles create a frosted look under the transfer.
Once applied and fully dry, sealing the transfer with a layer of clear varnish is recommended to protect it from handling and weathering techniques. A matt, satin or gloss varnish can be used, depending on the desired finish. For military and aircraft models, modellers often blend the decals further by applying weathering effects, such as washes or dry brushing, to make them appear worn or faded. This is particularly useful for replicating historical or battle-hardened vehicles.
Waterslide transfers vary in quality, with some brands offering exceptionally thin and detailed decals that require careful handling, while others might be thicker and more robust but harder to conform to irregular surfaces. If you find that a transfer is too stiff, using a decal softening solution can help it conform better. Some advanced modellers even replace kit-supplied decals with aftermarket options to achieve a more accurate or customised look.
Posted in: Decals / Transfers
Click here to receive the tips weekly in your mailbox. You can unsubscribe at any time.
Related products
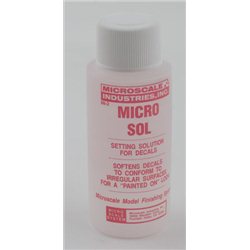
Micro Sol for softening decals
Price: £ 6.00Micro Sol is used for softening decals/transfers so they conform better to...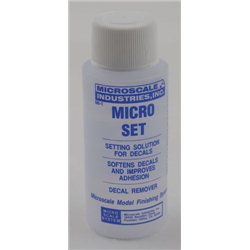
Micro Set for improving the adhesion of decals
Price: £ 6.00Micro Set is used for setting decals/transfers. The solution improves the...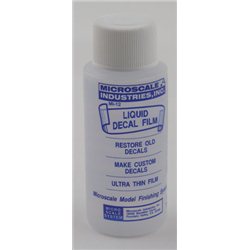
Micro Liquid Decal Film
Price: £ 6.00Micro Liquid Decal Film is mainly used for restoring old decals/transfers....
Related posts
-
 Do I need to varnish after applying a decal?The simple answer is yes, it is advisable to varnish your decal, for a couple of reasons One being that if the model...
 - How do I apply decals to irregular surfaces?This is not as difficult as you would think. Normally you would dip your transfer in warm water to help remove it...
- How do I use Micro sol and Micro set with waterslide decals (transfers)?When you are at the final stages of making your model, apply a coat of gloss varnish this will give a nice smooth...
- Do I need to varnish before applying a decal?It is a good idea to give your model a coat of gloss varnish before applying decals as this helps with the gluing...
- Can you just varnish where you intend to place the decals?It is best to varnish the whole model. By coating the whole model in varnish, you are guaranteed a uniform finish...